Do you want to Adjust the Disc Brake of your bike by yourself? Well! It is not as tricky as it is perceived to be. To adjust disc brakes by yourself is no longer an odd process. According to new standards, disc brakes are very durable.
The World Tour Team is using disc brakes in their bikes after the approval from UCI in 2018. Disc Brake provides your bike with excellent stopping power, super speed modulation, and perfection in all seasonal changes.
It is sometimes heavier and more challenging to use disc brakes than others. Disc Brakes are of two types: Mechanical Brake that works on cables, just like rim brakes. And Hydraulic Brake that works with fluid; when you apply the brake, the pressure pushes the fluid into callipers, and then pads are pressed against the disc.
Every bike rider has to deal with squeaky, tight, or unadjusted disc brakes in a lifetime. So, how to adjust them, let’s get straight to it!
Set your bike in the correct position/ Positioning of Bike:
The very first step in adjusting the disc brakes is about the position of the bike. It would be best if you placed your bike in the correct position, so you can easily adjust the disc brakes. For that reason, you need to flip your bike upside down. Or stand it in a bike stand. This position of the bike is necessary to elevate the wheels.
It would be best if you had your bike in this position so that wheels are elevated off and spin freely. You can stand it on a portable bike stand, but if you do not have a bike stand, then flip it so that the seat and handles should be on the ground and the wheels are elevated off.
Figure out the style of your bike:
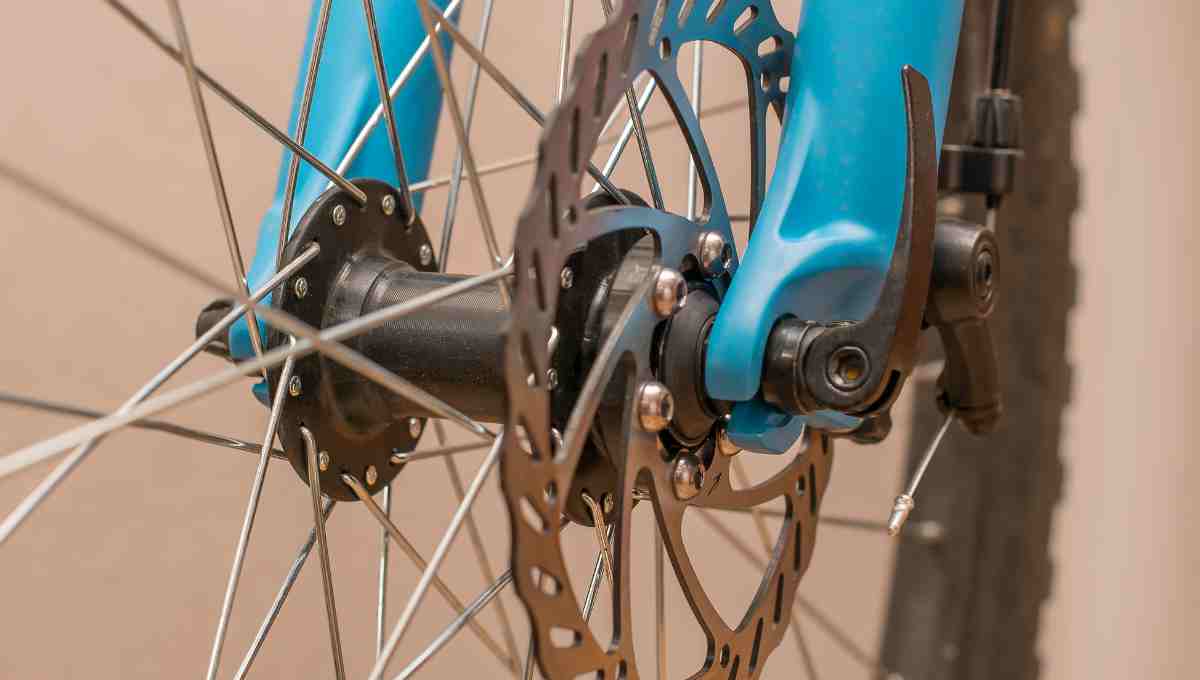
The next step is to figure out the style of your bike. It would be best if you looked closely at the calliper. Now, what is the calliper? Calliper is like a small box 3 Inches long that sandwiches the rotor. Calliper exerts pressure on the rotor to slow down the speed of your bike. So, look closely at the calliper. Calliper is positioned in the centre of your bike’s wheels.
If the calliper of your bike has small cables, then it is a mechanical disc brake. And if there are no cables then, this is a hydraulic disc brake. If you are still unable to identify the style of your brake, then snap a photo of the brakes and show it to the nearby bike shop. In this way, you will recognize the type of your bike. It is essential to identify the style because both mechanical disc brakes and hydraulic disc brakes are adjusted differently.
Tighten the wheel before adjustment:
Tighten the wheel of the drop house before adjusting the brakes. The drop house is of a Y-shaped frame. The wheel sits between it. It is present on both sides of the wheel. It keeps the wheel connected to the bike. Before adjusting the brakes, make sure the wheel is tightened and firmly in place. Rotate it with the lever clockwise. And tighten it. After that, fold the lever in until it’s flushed with the wheel.
Many older bikes are tightened manually with the wrench!
Don’t Touch the Edge of the Rotor:
It would be best if you did not touch the edge of the rotor because it is sharp. And chances are, if you come in contact with it, you will hurt yourself. The rotor is the circular metallic disc on which disc brakes apply force. When you are adjusting the disc brakes of your bike, keep in mind that you don’t have to touch the edges. You have to hold the disc simply by placing your thumb and fingers on two flat surfaces without brushing the edge.
And if you get a cut unconsciously, stop the work, wash your cut and bandage it!
How to Adjust Mechanical Brakes:
First of all, loosen the set of small screws on the calliper’s side. Some disc brakes have a bunch of tiny screws clamping down the calliper’s adjustment dial to prevent it from loosening while you are enjoying your ride. Use a tool, Philips head screwdriver 1-2 complete anticlockwise rotations, to lose the set of screws.
Not every bike has this small screw set; if your bike does not have one, then skip this step.
Now Twist the Adjustment Dial:
After loosening the set of small screws, twist the adjustment dial. Most of the Mechanical Disc Brake Bikes have 1-inch wide plastic dial on the side of the calliper. Now turn the wheel clockwise to move the brake pad closer to the rotor and then counterclockwise to move it much away from the rotor.
There is no adjustment dial in some bikes, and there is a hex bolt that performs the same functioning!
Adjust the dial until or unless the calliper is centred:
Now adjust the dial unless the calliper is centred directly over the metallic rotor. Give your bike wheel a spin and check the brake pad so that you may see the pad is rubbing the brake. Sometimes, rotors are not perfectly flat, so don’t be panicked if you see a slight wobbling as the rotor spins.
Squeeze the lever of the brake to make sure that the brakes are tightened well:
Now, squeeze the brake lever firmly so that the two pads tighten on either side of the rotor. Both the pads should come in physical contact with the rotor, precisely at the same time. If any of the pads are touched before, the rotor is not centred beneath the calliper properly.
Remember that the right-hand brake lever works for the rear brakes, whereas the left-hand lever works for the front brake.
Tighten the Hex Bolts and the set of smaller screws:
Use Allen Wrench to turn the two Hex nuts clockwise. These nuts are on the side of the calliper. Even if you did not loosen them before adjusting the brakes, you still need to tighten them. Also, tighten the small set of screws that you loosened before adjusting the brake.
Once you have tightened all the nuts, bolts, and screws after adjusting the brakes, your bike is ready!
How to Adjust Hydraulic Brakes:
If you hear that your Hydraulic Disc Brakes are making some rubbing sound, then it means your brakes are too tight. Now you need to loosen the Hydraulic Disc Brakes to ride your bike accurately. For that reason, you have to check out the calliper and find two Hex Bolts on its sides. These Hex Bolts are 0.32cm. Now use an Allen Wrench of the suitable size and turn anticlockwise to loosen the bolts.
If the disc brake is tight only on one wheel, you don’t need to loosen the other!
Squeeze the brake lever 2- times:
Now squeeze the brake lever after loosening the 2 Hex Bolts. Squeeze the brake lever because it connects with the wheel. When you bump the calliper while loosening, it will re-centre it on the rotor disc. When you squeeze for the last time, keep pressure on the brake lever.
Remember that the right-hand brake lever helps control the rear brake, and the left-hand brake lever controls the front brake!
Tighten the bolts only by a half turn:
Now tighten Hex Bolt with the help of an Allen Wrench, but only by a half-turn clockwise before leaving the corresponding lever. In this way, the calliper will tighten around the rotor. In the same way, tighten the second Hex Bolt. And if you need to work on both the brakes simultaneously, then take help from the friend. He will hold the brake levers while you will tighten the callipers.
Spin the Wheel:
After doing all the process, spin the wheel firmly in either direction. If the wheel doesn’t create any rubbing sound, you have adjusted the brake accurately. And if it made a rubbing sound again, then it means that there is a problem, so fix the brakes again.
Align the calliper visually:
If the brakes still rub and create any noise, then loosen the bolts by quarter a turn. Look from the top and see it setting on the rotor directly. Once the brake lever is held down, you need to fine-tune the position of the calliper. In this way, it is centred entirely. Again, spin the wheel to ensure there is no more rubbing sound. And your bike is good-to-go.
The Bottom Line is this process is not very tough, firstly you have to inspect what type of brakes are, Mechanical or Hydraulic. In Mechanical brakes, you have to loosen the small screws, then twist the adjustment dial. And then adjust the dial until the calliper is centred. And then squeeze the brake lever to make sure that the brake is tightened. And finally, tighten the bolts and screws.
In Hydraulic brakes, firstly, you have to loosen the two bolts on the side of the calliper. Then, squeeze the brake lever 2-3 times to centre the calliper on the rotor. And then, tighten the bolts by a half turn before releasing the lever. After that, spin the wheel to ensure that there is no rubbing. If still there is rubbing, then align the calliper visually. Hopefully, this article will help you adjust the disc brakes of your bike!